
Make Quick Edits to Individual Users in ResEd
Sometimes you need to update or correct user information for just one or a few people in ResEd. Maybe you spot a typo, a student has switched schools, or you notice missing demographic details. This guide walks you through editing single user records, step by step.
If you need to update information for many users at once, it’s better to upload a roster file instead. Check out the related help video for bulk updates.
Step 1: From your dashboard, go to Manage Roster.
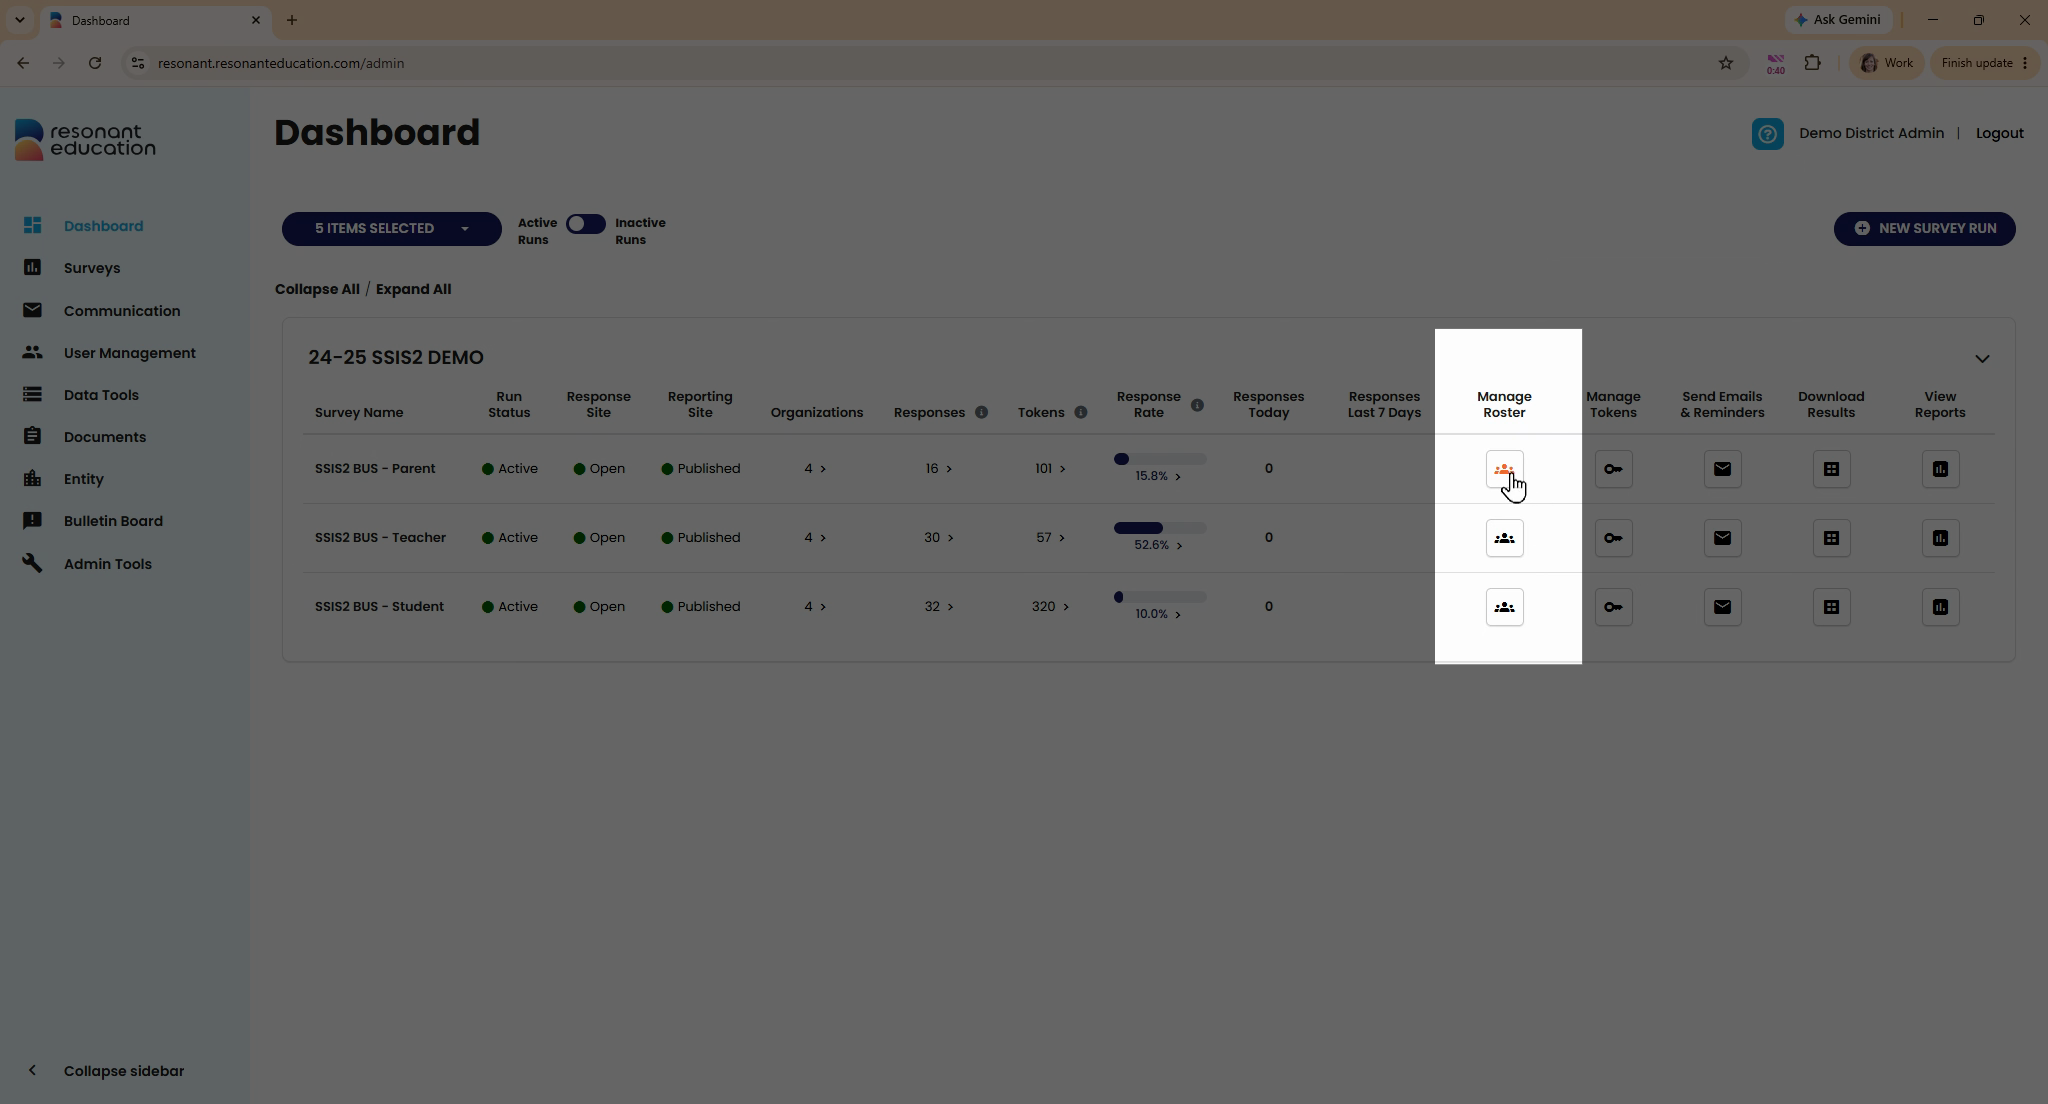
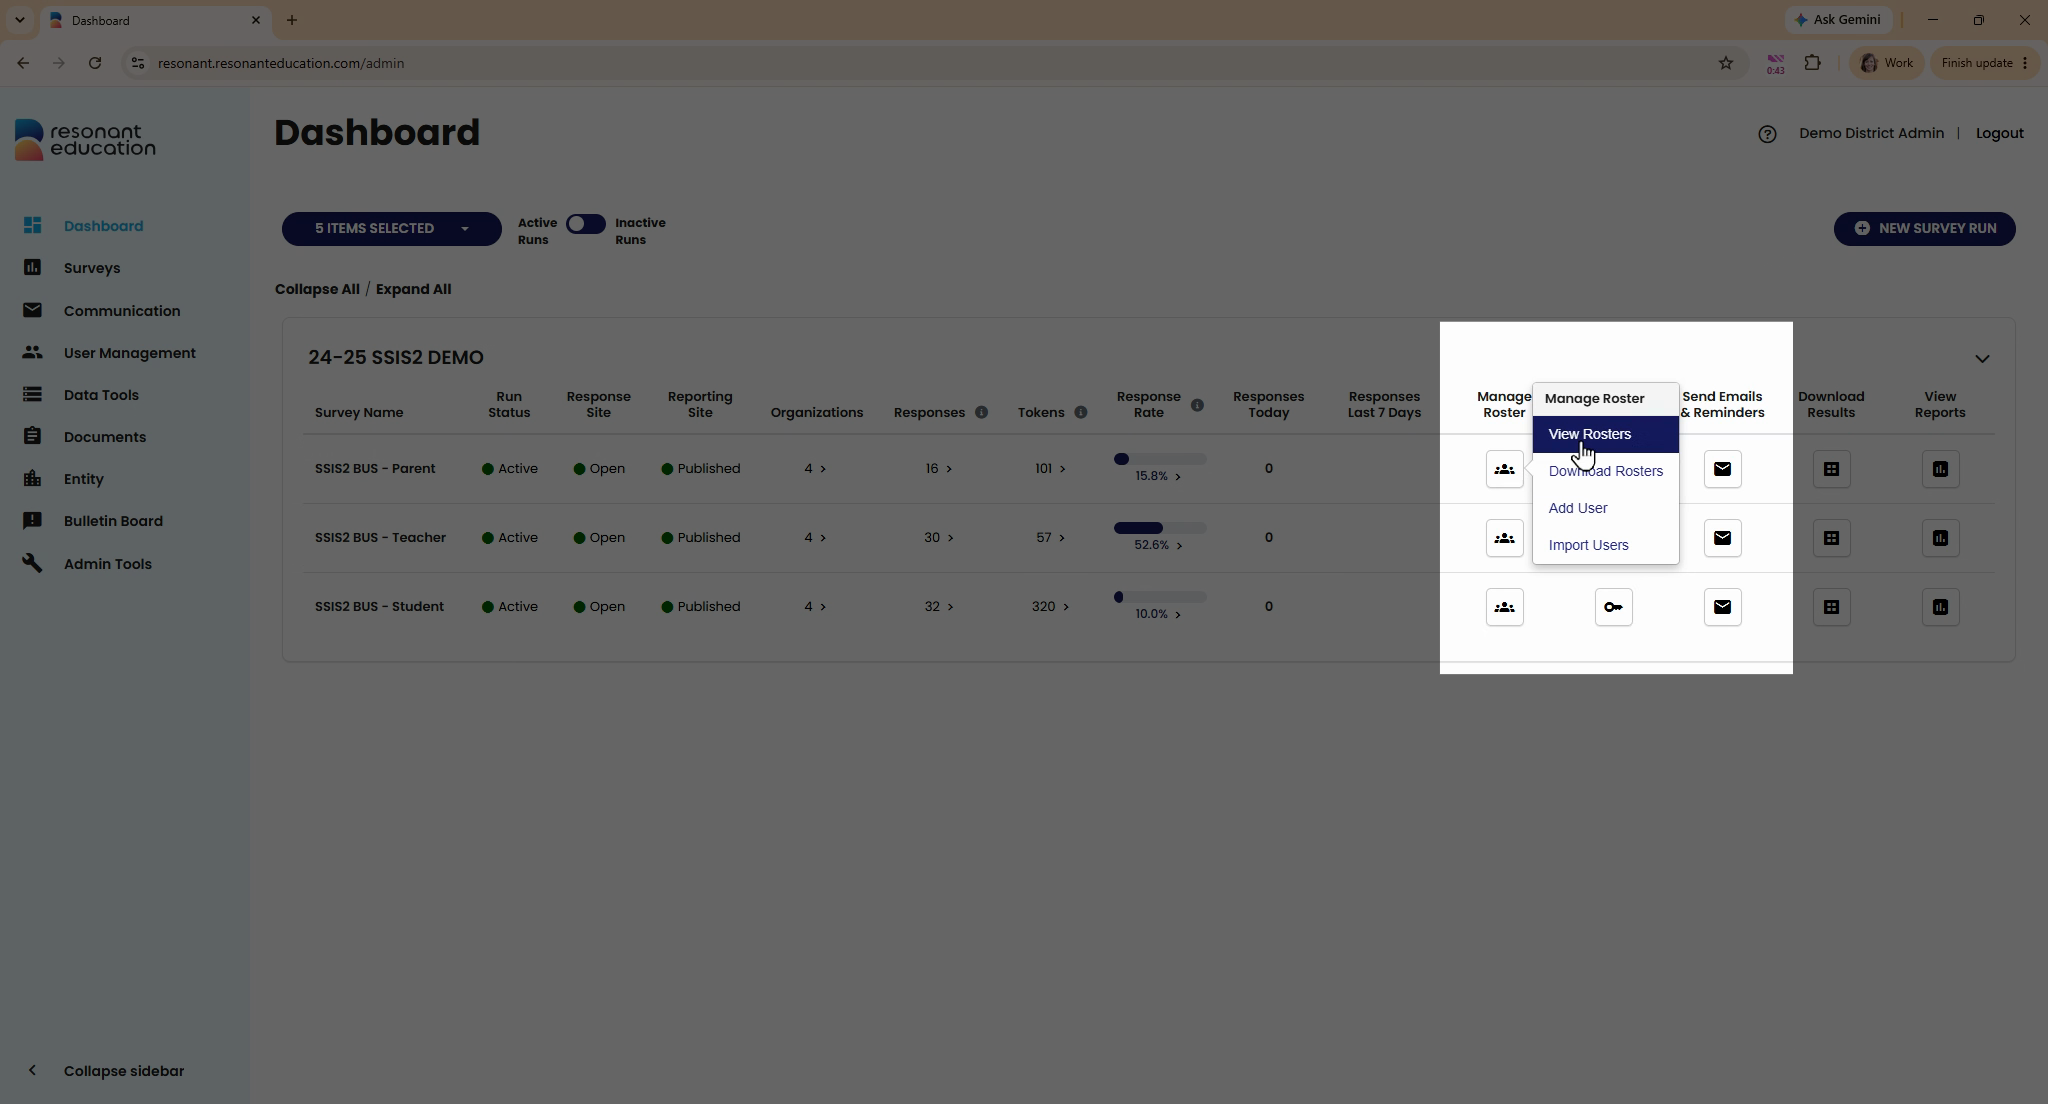
Step 2: Click the roster icon and select View Rosters.
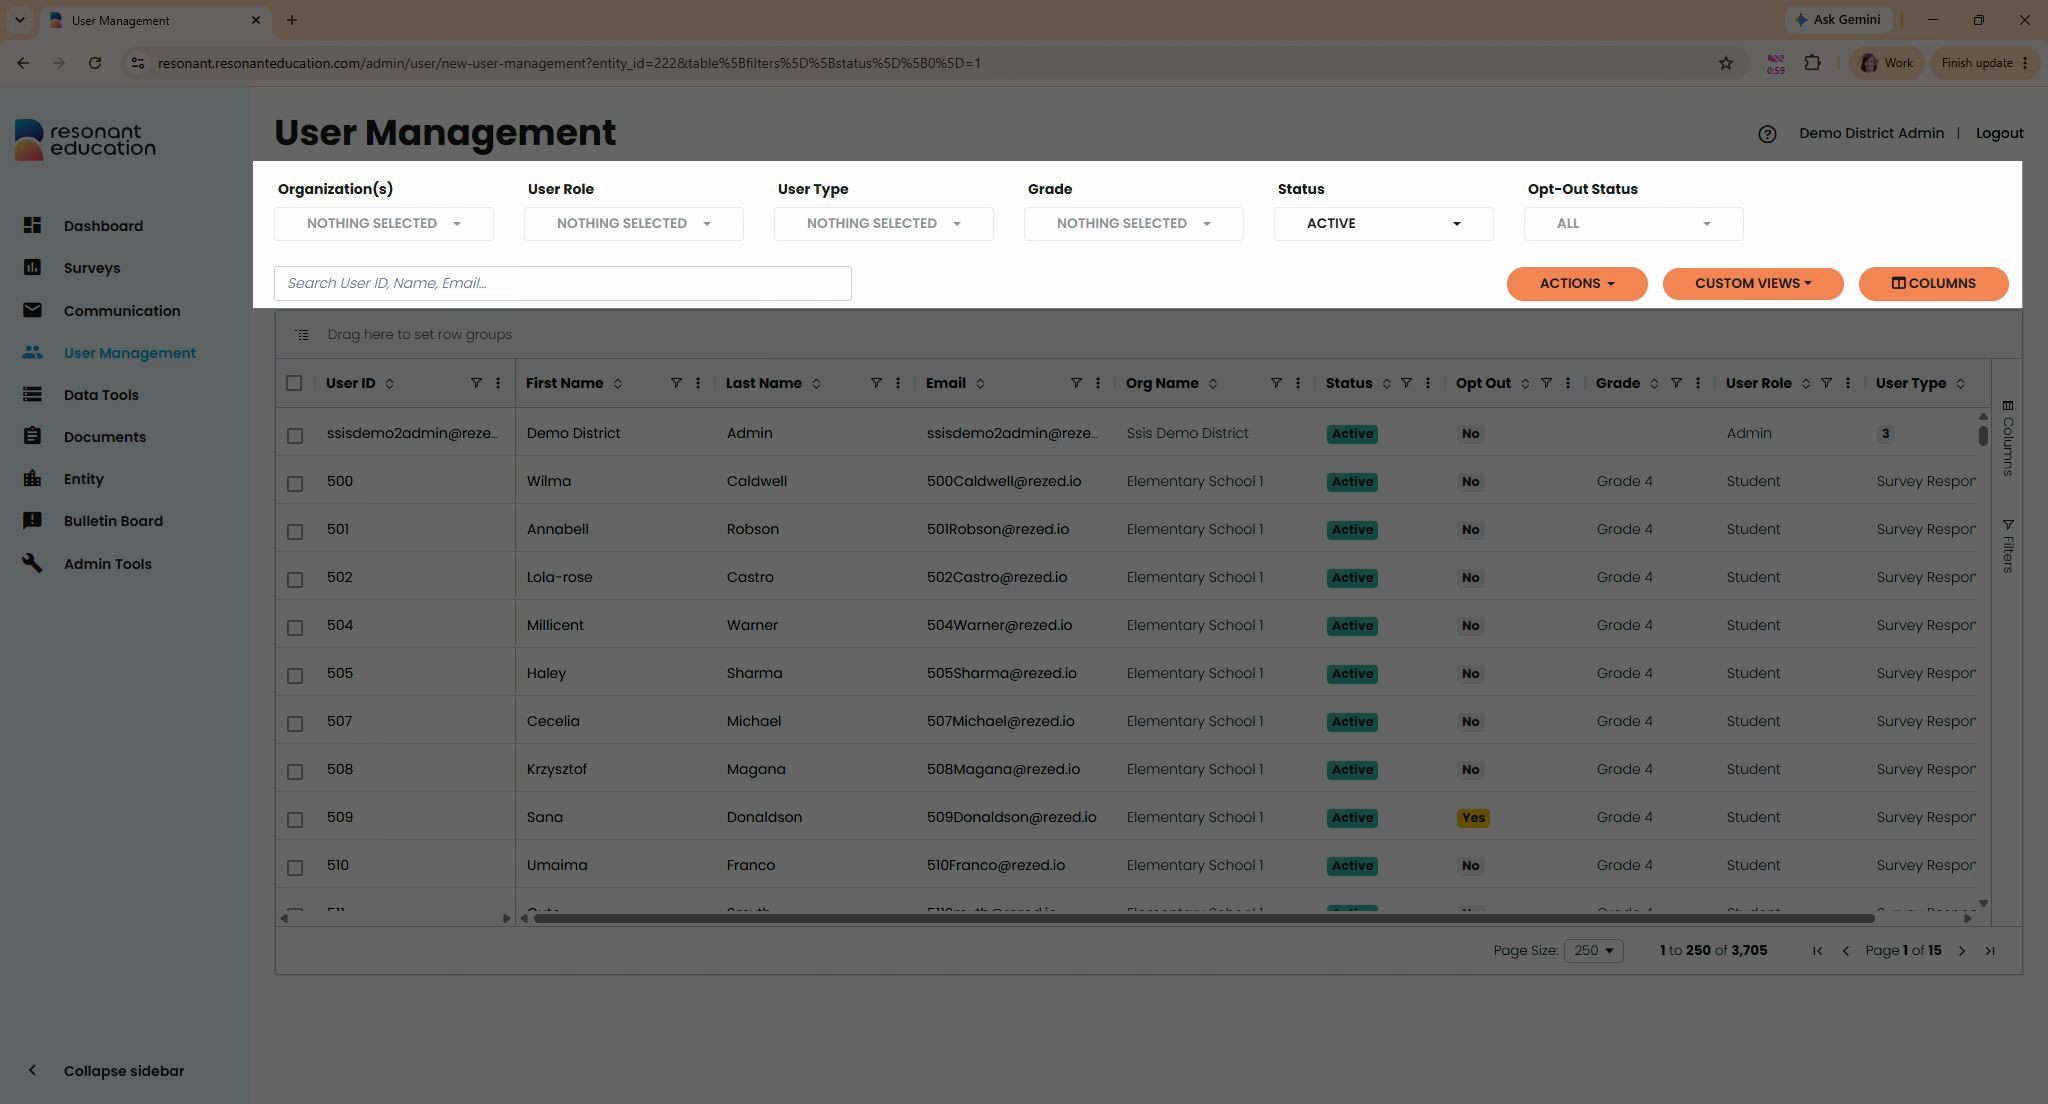
Step 3: Use the sort, search, or filter features to find the specific user.
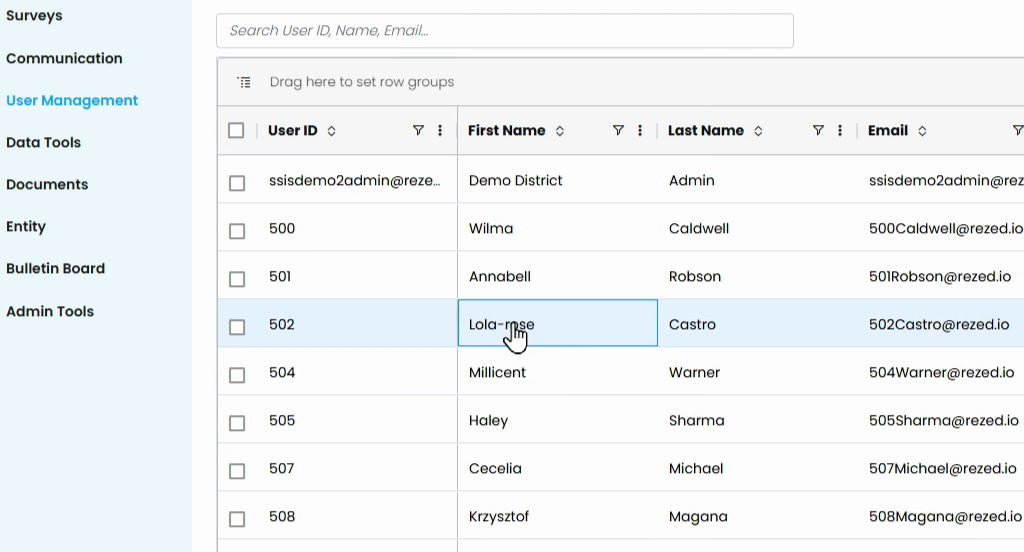
Step 4: Click on the user's name to open their user profile.
Step 5: Review the User tab for basic details like ID, name, and email.
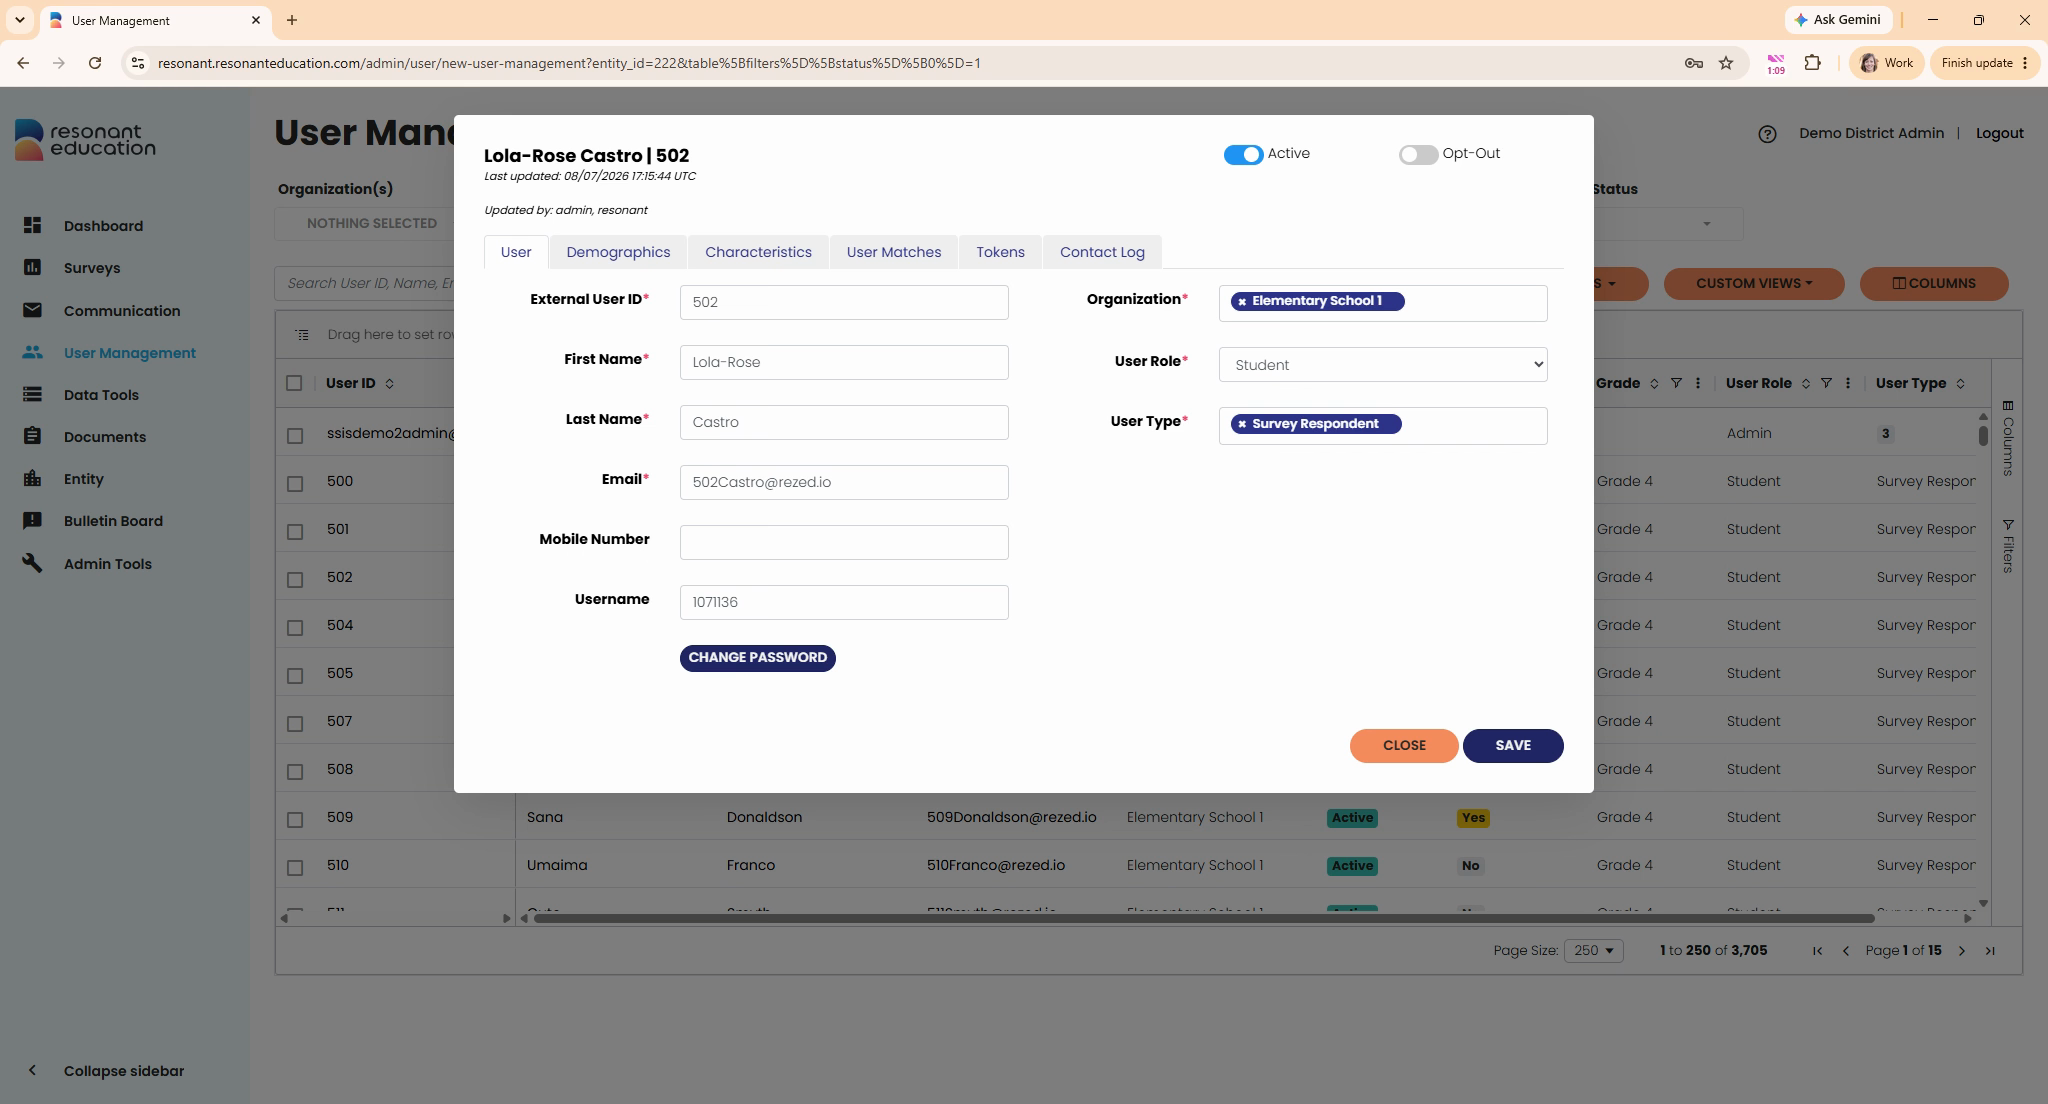
Step 6: Update left-side fields (such as name or email) by typing into the box.
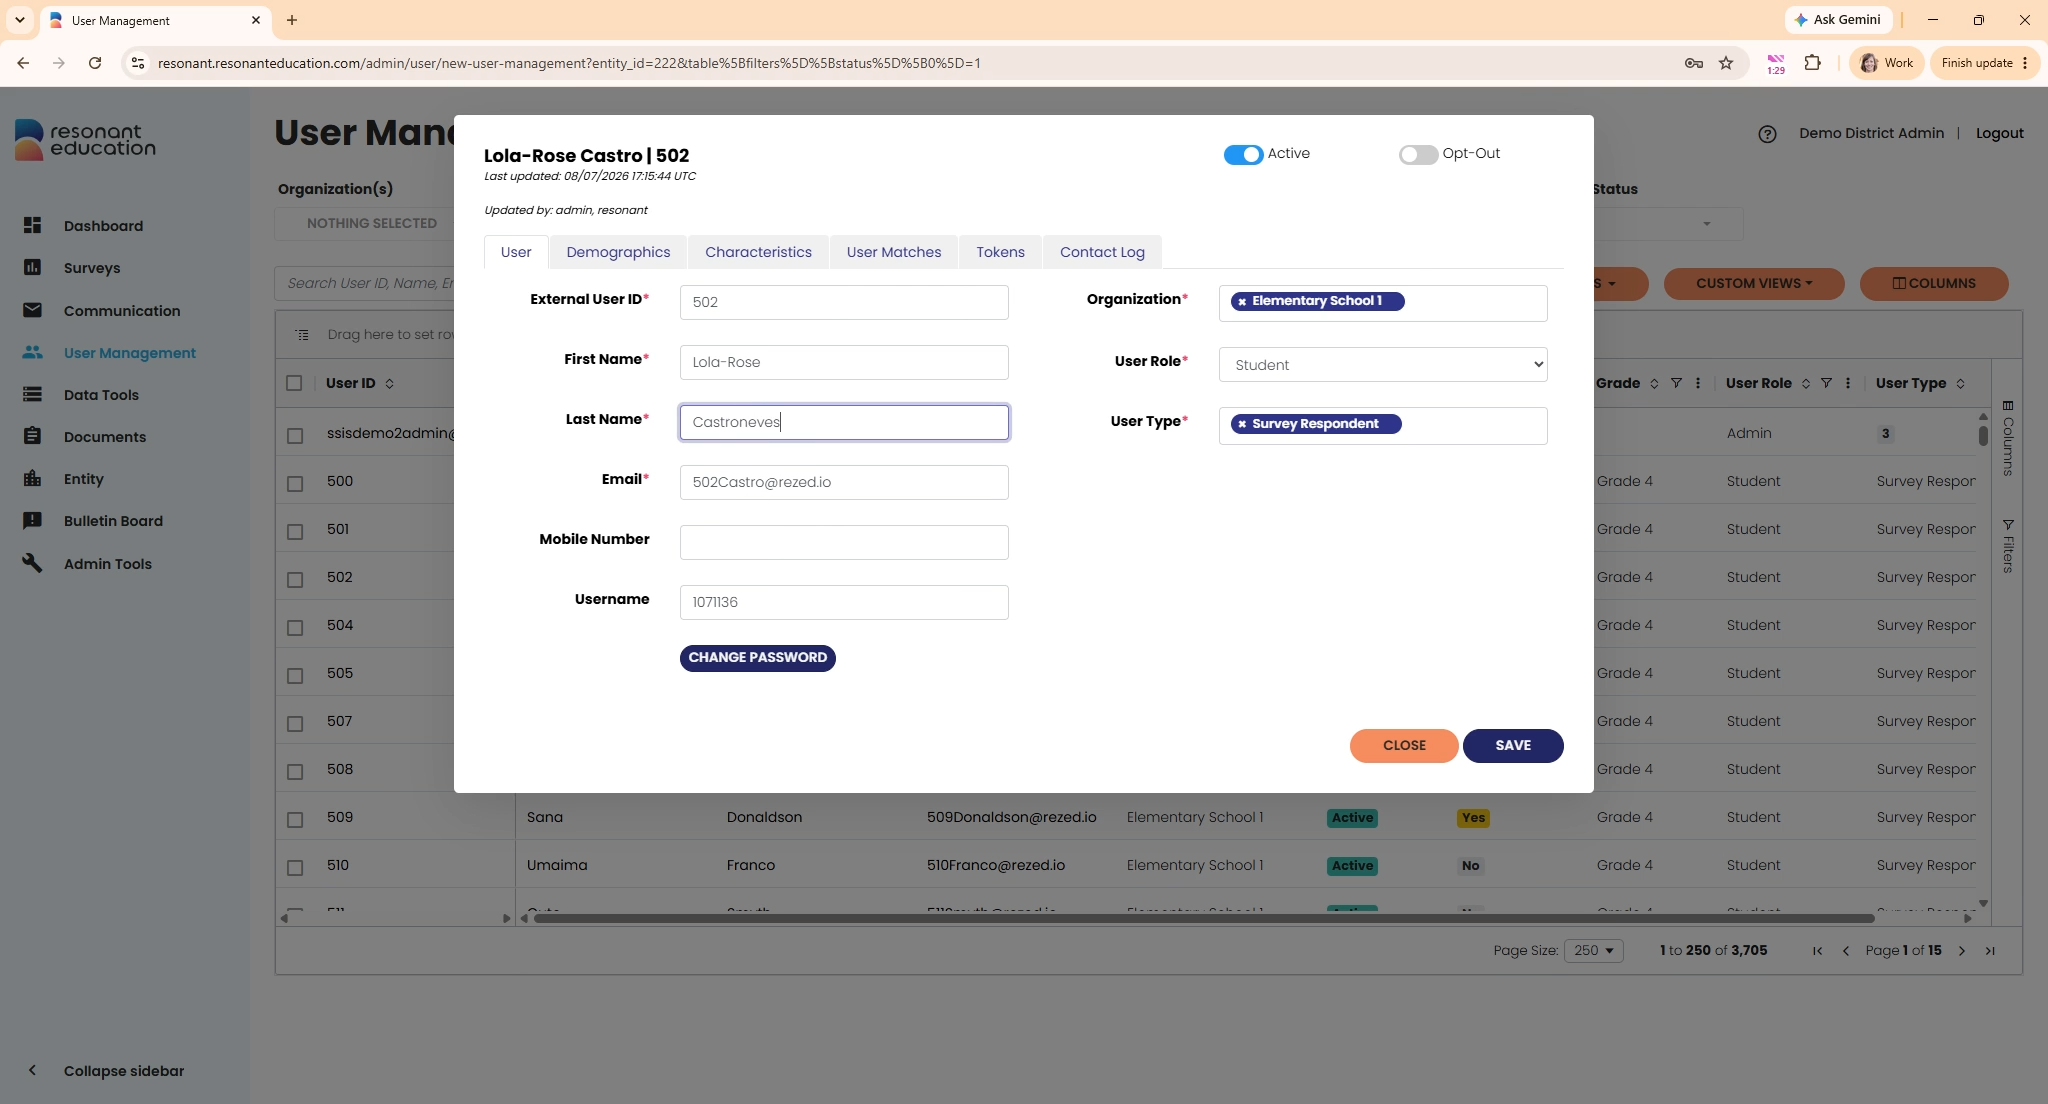
Step 7: Remember, fields with a red asterisk are required and can’t be left blank.
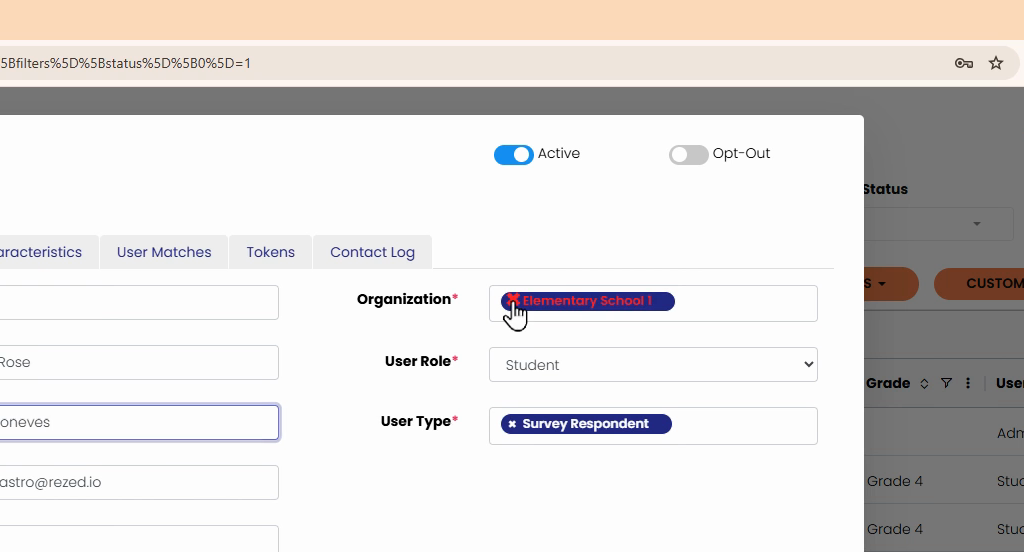
Step 8: On the right, to change values like organization, role, or user type, click the “x” to remove the old selection, then choose the correct option from the drop-down.
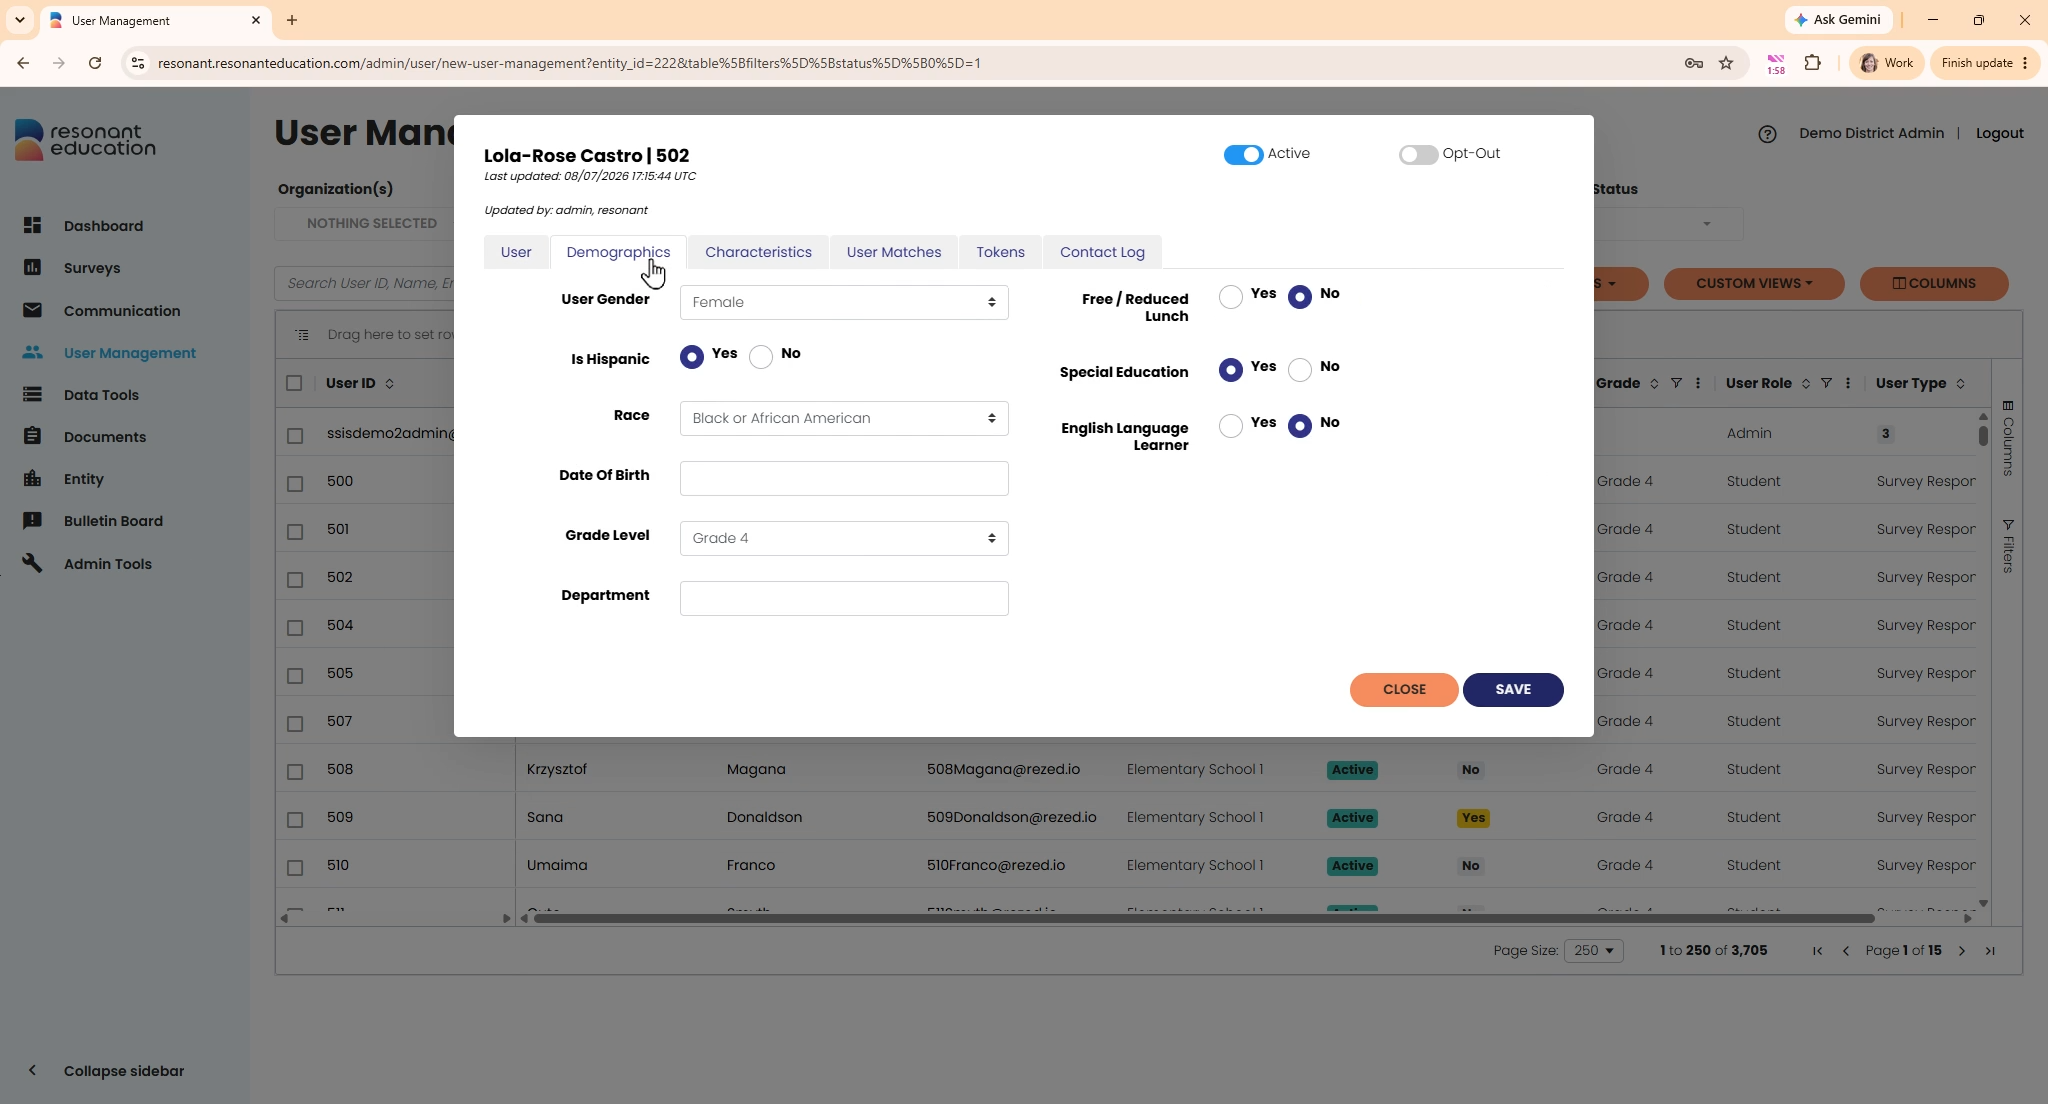
Step 9: Click the Demographics tab to update demographic information as needed.
Step 10: For other tabs like Characteristics, User Match, or Token, see their dedicated help videos for editing details.
Step 11: Once everything looks good, click Save to apply your changes.
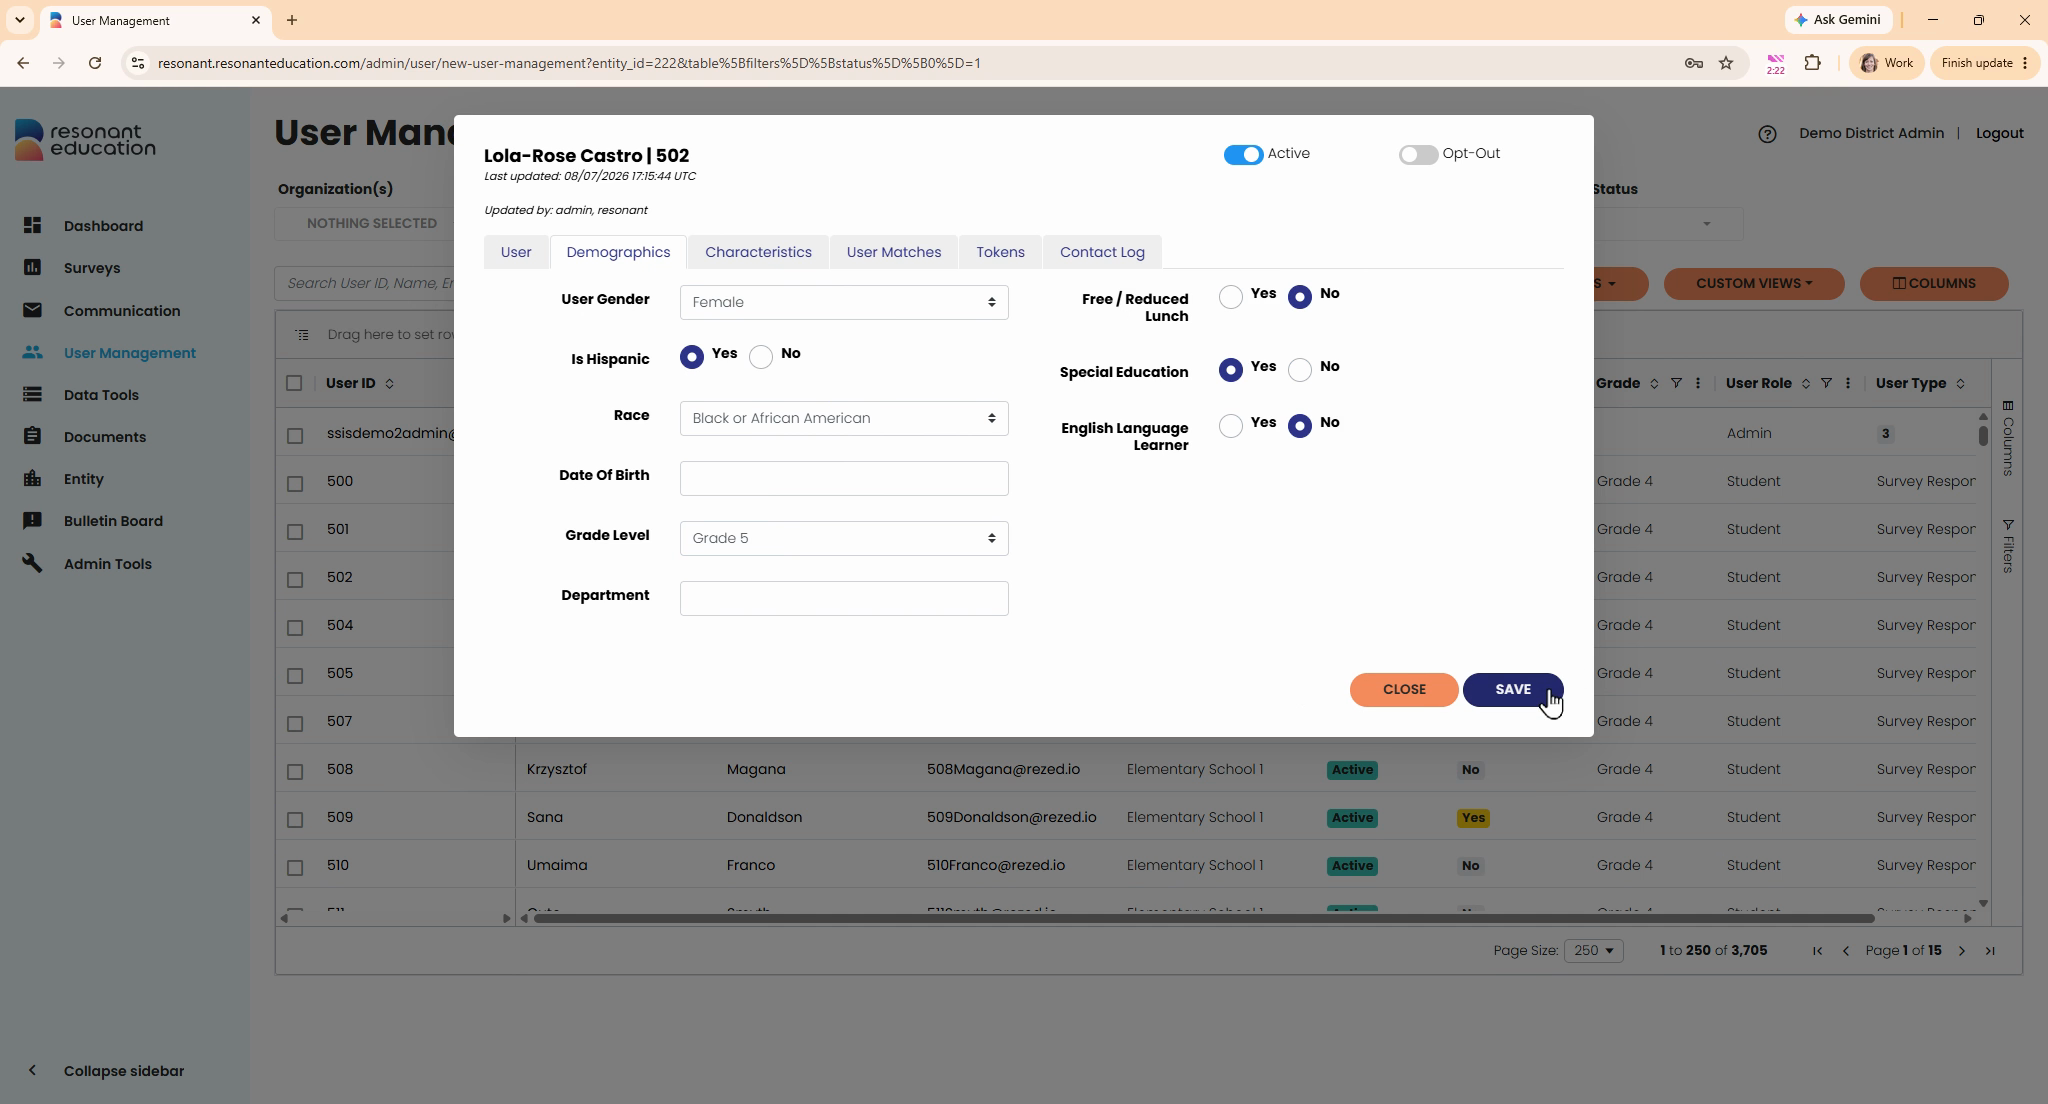
Step 12: If you click Close instead, your updates won’t be saved.
Updating individual user records keeps your data accurate without the hassle of bulk imports. Always remember to hit Save after making changes, so your hard work doesn’t get lost.